


Mike's Tigger stuff
The wonderful thing about Tiggersis Tiggers are wonderful things

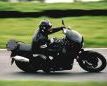
My Tigger

Is a black 1994 Tiger 900. Bought in August 1998, with 18,000 miles on the clock, since when I seem to be averaging 15,000 miles per year on it. It gets used for commuting, touring, and just generally mucking about on, and indeed was used for courier work for a few months.
Modifications
Modifications to the Tigger are fairly minimal. Just click on the labels or picture below in the appropriate place (yes, I've been playing with client-side image maps).
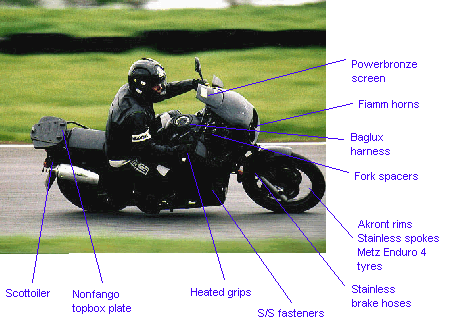
- Screen
- Fiamm horns
- Baglux tank bag
- Wheels
- Tyres
- Brakes
- Stainless stuff
- Grips
- Nonfango top box
- Scottoiler
- Wish list
Screen
Powerbronze extended screen fitted - this keeps the wind off my upper body. Wind noise is reduced, though not stopped - if I duck down an inch or two, the noise becomes less still. I used the 8" screen - larger screens are available from Powerbronze and (I think) Ermax.
Fiamm horns
Nice loud Fiamm horns fitted (see below for tips on fitting them). They will fit in the original horn locations, with a little care and a small hammer.
Baglux tank bag
Baglux harness fitted (which was when I discovered the turning bolt). The bag I use is the trail bike one (now discontinued), which is fairly well-behaved (there's a tendency for it to lean to the left, but it's a rather precarious balancing trick anyway) with no signs of it wanting to set off in another direction.
Wheels
Rims changed to Akronts with stainless spokes and the hubs powder-coated - the DID rear rim had corroded rather badly, otherwise I'd just have had the powder coating and re-spoking. Perhaps I should clean them - the Akronts are very attractive rims.
Tyres
Research has continued into tyres, a favourite topic for Tigger riders. I've used the OE T66s (not at all bad), the Conti Enduro Pros (avoid at all costs, high speed weave, instability in sweeping bends, poor grip, appalling wear rate) and the Metzeler Enduro 4s. The latter is my favourite. They seem to grip well in the wet, but my only unassisted accident on wet roads was on these. I suspect rider error, though, rather than the tyres being at fault. My normal tyre consumption rate is 6k for a rear T66, a bit more for the front, about 2.5k miles on the Conti Enduro Pro, and 11.5k miles on the Enduro 4 rear, 22k miles on the Enduro 4 front.
Grips
Originally, I fitted Pro-Gel enduro handlebar grips (available from M&P, whose website I cannot criticise enough). A favourite modification of mine, fitted to all of my spineback Triumphs.
However, with the cold weather and courier work (1500 miles a week in temperatures hovering around freezing), I decided that I'd put on a set of heated grips. I bought a set of Nuvo grips from M&P, which were similar to the Oxford Hotgrips but cheaper. However, after a short time, the grips went baggy and started splitting. M&P replaced them for me, and the replacements have been in place for some time, though the right-hand one has stretched a little (now wrapped in insulating tape to keep it intact as long as possible).
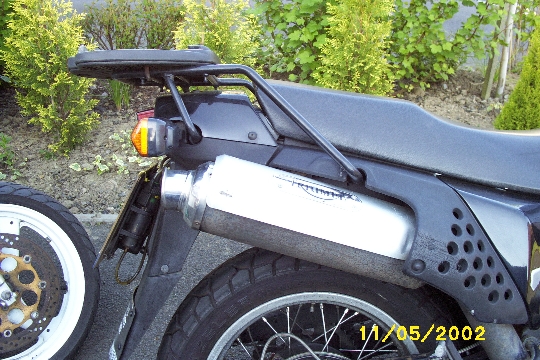
Nonfango top box
Nonfango mounting plate fitted to standard rack using a couple of U-bolts. The standard rack is a more substantial beast than the Nonfango one. However, I still haven't worked out a pannier mounting system.
Scottoiler
Something to consider if you don't relish squirting PJ1 at a chain, and/or never seem to get round to it. It delivers a metered quantity of oil to the chain while the engine is running. Some swear by them, others would rather do their chain oiling by hand.
In a totally unscientific test, I found a chain lasted twice as long with a Scottoiler fitted (and working!) than not. It should be noted that my non-Scottoiled chain maintenance consists of benign neglect and the occasional guilty squirt of PJ1, so anyone following a more attentive regime should see better chain life than I did.
Wish list
On its way, hopefully, is a sidestand made out of a length of straight toolbar. The original Triumph sidestand, especially the later, longer one, is very prone to grounding out.
Crash bars seem like a good idea. I rather like the look of the Riky equipment, but I don't know whether anything is available for the Tigger. John Fitzwater's crashbars have good reports, but I'm not so keen on the looks. Perhaps I should just not crash.
Bad news

Varies from the niggling to the serious.
- Blown main fuse
- Turning fairing/tank bolt
- Ignition pickup
- Chain/sprocket cover
- Rear brake
- Crash damage
- Big end failure
- Rear subframe failure
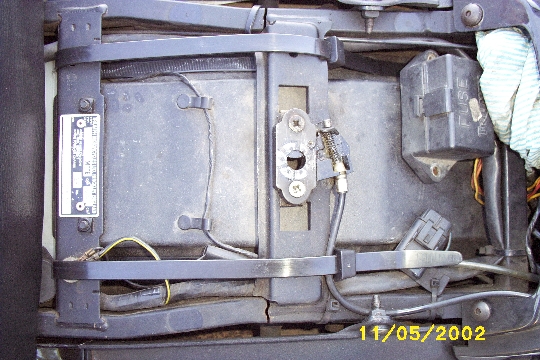
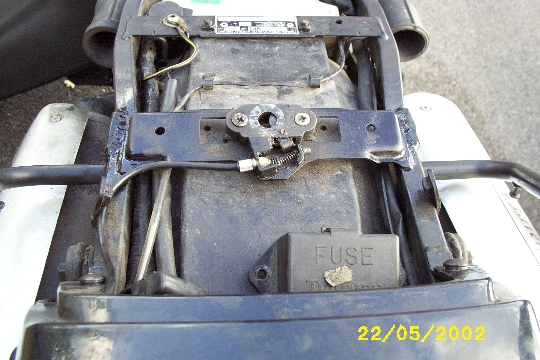
Blown main fuse
Very trivial, this. Well, it would be, were it not for where the fuse box is located.
Presumably due to the different seat and rear bodywork, the fuse box and CDI of the Tigger are located in different places to the other spineback Triumphs. The fuse box access is especially difficult if you have some sort of rear luggage system on.
However, there is room under the seat, in front of the cross-member and bulkhead, for the fuse box. Undo it, unplug it, push the connector and wires under the cross-member (from the front...) and hey presto, an accessible fuse box. Now all that remains is to put a spare 30A fuse in it.
Turning fairing screw
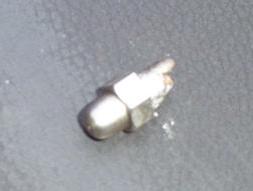
I drilled the head off, managed to unscrew the remains, then drilled a 3mm hole on the boundary between the tank plastic and the edge of the threaded bush, and screwed in a self-tapper to hold the bush in place. I think that an alternative method, involving cutting the bush out and epoxying a flanged nut in place in the recess, would also work, but I haven't tried the experiment.
Subsequently, I encountered the problem again and decided to try this experiment. I used a dremel clone of much cheapness and a burr to extract the actual bit that fits in the tank, which was rather different to what I expected:
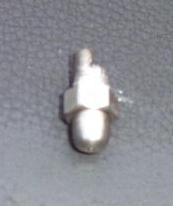
Then I used a cylindrical stone with the DCOMC to open the hole out a bit, and inserted a flanged nut, flange innermost, initially with a bolt in it to help drift it in:
It's flush with the surface - it seems proud in this because it's got empty space around it:
Then I used some epoxy resin to stick it in place:
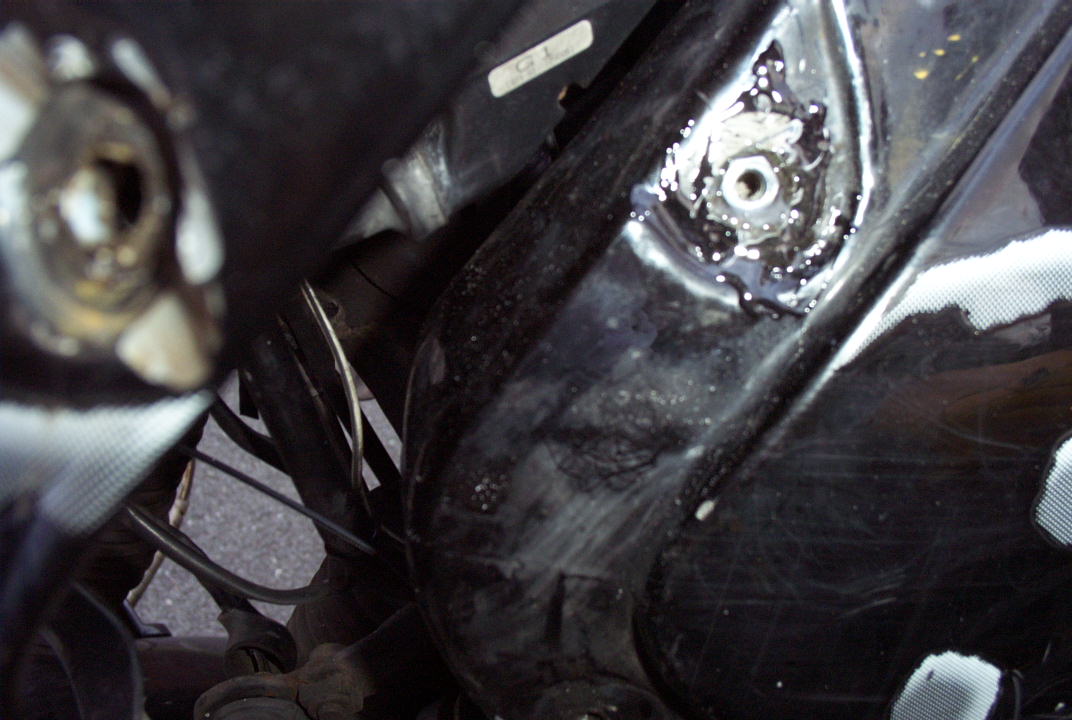
And I have cleaned up the dribble...
Ignition pick-up sensor
This happens to all the T3 Triumphs, not just the Tiggers. The pickup has been changed for more recent bikes, so the problem may have been cured.
Classic symptoms - the bike warms up, stutters briefly and cuts out. After cooling off for 5 minutes or so, the bike will start again, only to cut out as it gets hot. Make sure, before spending the money (£30) on a new pick-up, that it's not due to a blocked petrol cap vent. Remember to buy a gasket when you buy the new pickup, and if you can't find the feeler gauge to set the gap between the rotor and the pickup, the old gasket works as a rough-and-ready feeler gauge, being just the right thickness.
A slightly different manifestation is cutting out briefly, then carrying on. The cutting out lasts just a few seconds, and occurs more and more frequently.
Both of these sets of symptoms share one thing - the tacho will drop to zero when the engine stutters (unlike running out of petrol, where the tacho will keep showing engine speed).
Chain/sprocket cover
I've run fairly slack and fairly knackered chains on all my Triumphs, but the Tigger seems to be vulnerable to this. It may be due to the swinging arm being at a different angle to that on the Trident family - anyway, the chain can bunch and punch a hole in the front sprocket cover, in the tunnel through which the clutch push-rod passes. Symptoms are a large clunk and a slowly increasing puddle of oil.
When fixing this, remember to get not only the gasket but also the seals, and check the clutch push-rod, as this can get surface damage which will shred the seal (bitter experience talking). Also, check the gearbox output bearing (check that the shaft just rotates and doesn't wobble). While you've got the cover off, you may as well renew the front sprocket.
Rear brake
Rear brake pads are wearing rather quickly (3000 miles a set). The brake seems to be dragging slightly. The wear is all on the piston side pad, and I suspect a master cylinder problem. More news as it happens.
Crash damage
I chucked the bike up the road - a chance to assess the crashproofness of a Tigger with no crash-bars. I dropped the bike on its right side at 40mph or so, in wet conditions (I didn't think I was travelling too fast - presumably I was...). There was a short surf across the tarmac, then a 20m long one across grass. During this, the bike flipped from right side to left side, and finished up facing backwards.
Damage:
- Both front indicators
- Right hand mirror (already cracked)
- Right hand handguard cracked
- Gearshift lever and linkage (bent back into a functional shape)
- Rear brake pedal
- Right hand silencer
- Gouges on clutch cover
- Gouges on right hand bar end weight
- Fairing frame broke at top (single) downtube
The right-hand silencer was an odd one - there was no scuffing to it, but when I restarted the bike, there was a lot of noise. This was because, in its excursions, the actual can had been pushed forward relative to the section of pipe that goes into it, tearing the weld.
Big end failure
Happened at around 66,000 miles. I felt a slight decrease in power and the mechanical noise seemed to get louder (travelling at around 90mph on a private road in Scotland at the time). Stopped and had a better listen, then got the bike retrieved.
The upshot was that an engine rebuild would cost in the order of £800, while a replacement engine plus fitting would cost around the same but leave me with a spare engine. I opted for the latter course, and found a 19,000 mile engine from an early Tigger - red engine covers and a crankcase top cover show this. It performed as well as the old one, but not for a terribly long time, as it used oil rather faster than I expected, ran low, and another bigend went. Another replacement engine, a Trident spec one, black with a top cover, went in at 66,000 miles and is still there at 110,000 miles.
Incidentally, Tiggers and Thunderbirds are different from the rest of the spineback Triumphs, in that their gearshifts are upside down. This is dictated by the selector drum, but apparently it's not that hard to change one - which is what was done in this case.
Rear subframe failure
Happened at around 90,000 miles, early on in the Welsh Rally. After I discovered it, I went home rather than continue - the rear fender extender was rubbing on the rear wheel, and the lowest Scottoiler mounting bolt wore a groove in the tyre (to exactly the same depth as the tread, so I kept the tyre on for the rest of its natural life...).
This is what the saggy rear looked like, and the cracks:
And here's what it did to the tyre:
This has all been welded up and reinforced:
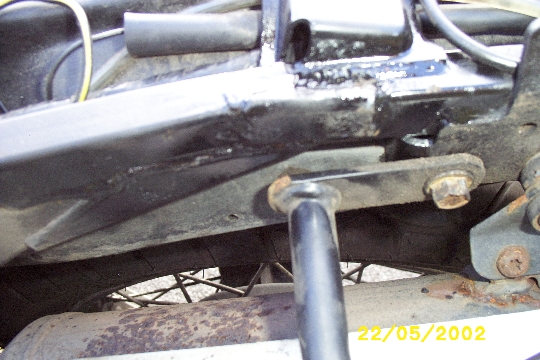
Considering it had done 90,000 miles with a big topbox and frequent pillion, and bumps up and down speedbumps every day, I wouldn't regard it as a fundamental weakness, though I would recommend anyone with the early Tigers without reinforcement in that area to get some reinforcing plates welded on there. I believe Triumph had such plates, but I can't find them on a parts website.
Fitting a set of Fiamms
There are various points that could be useful to the Fiamm fitter:
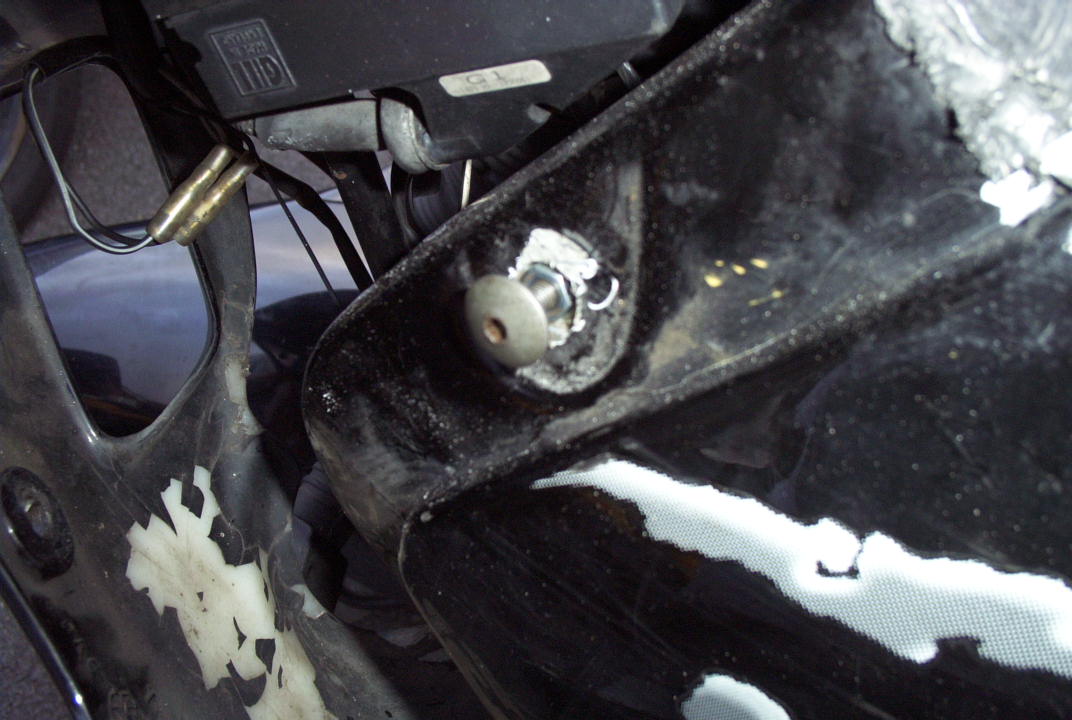
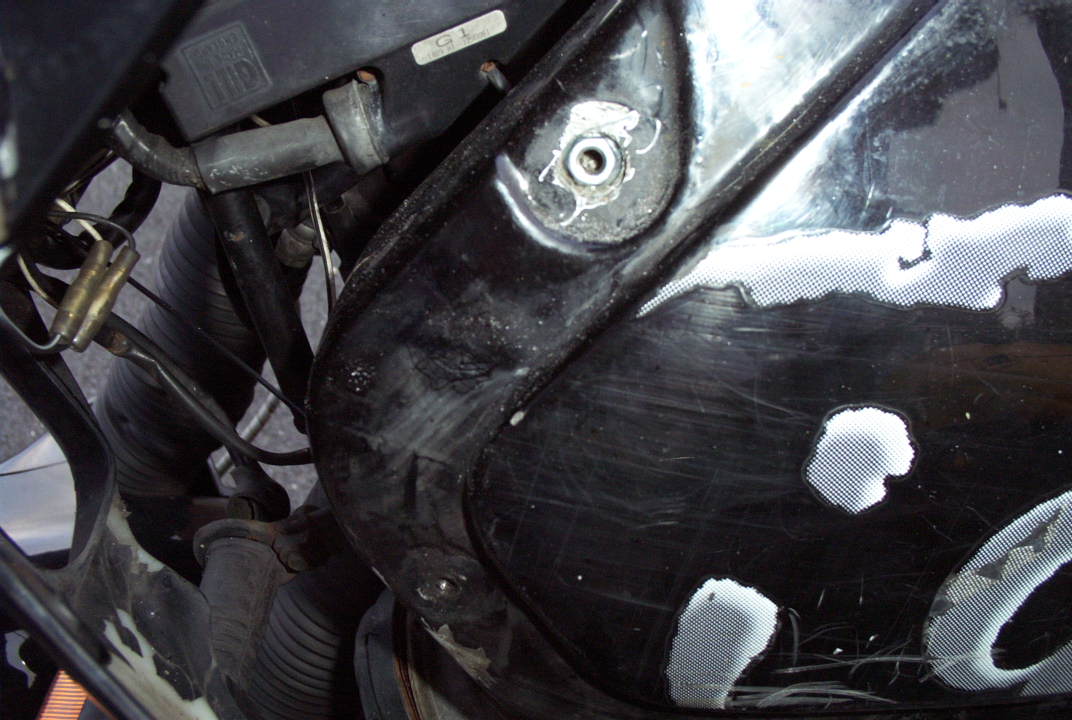
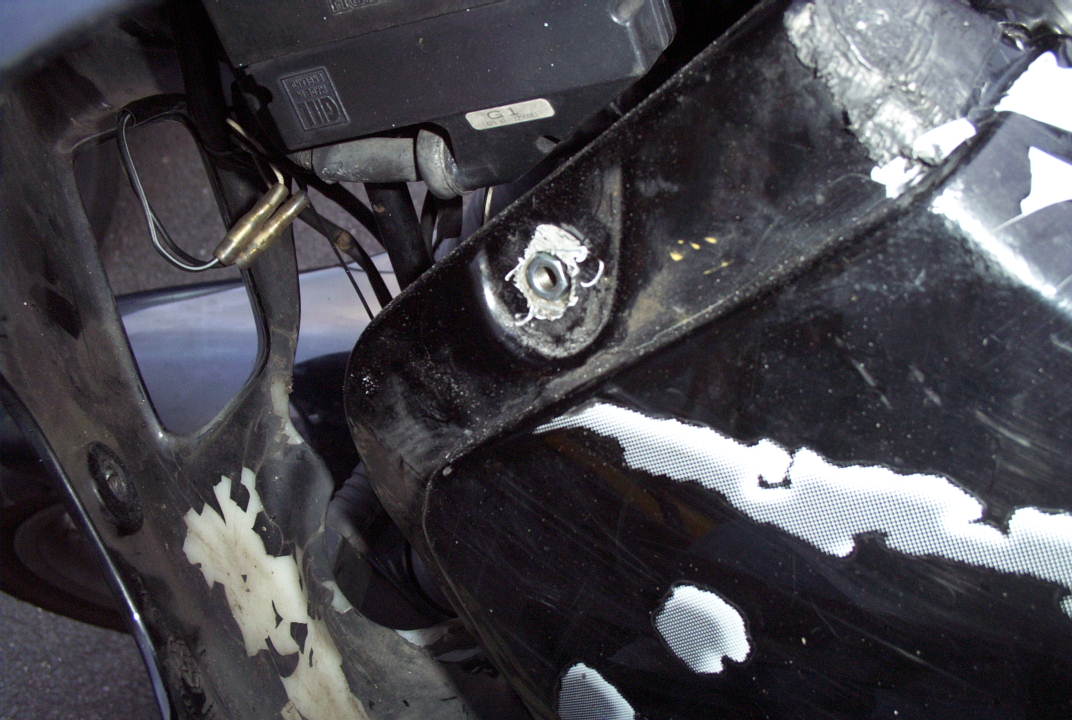
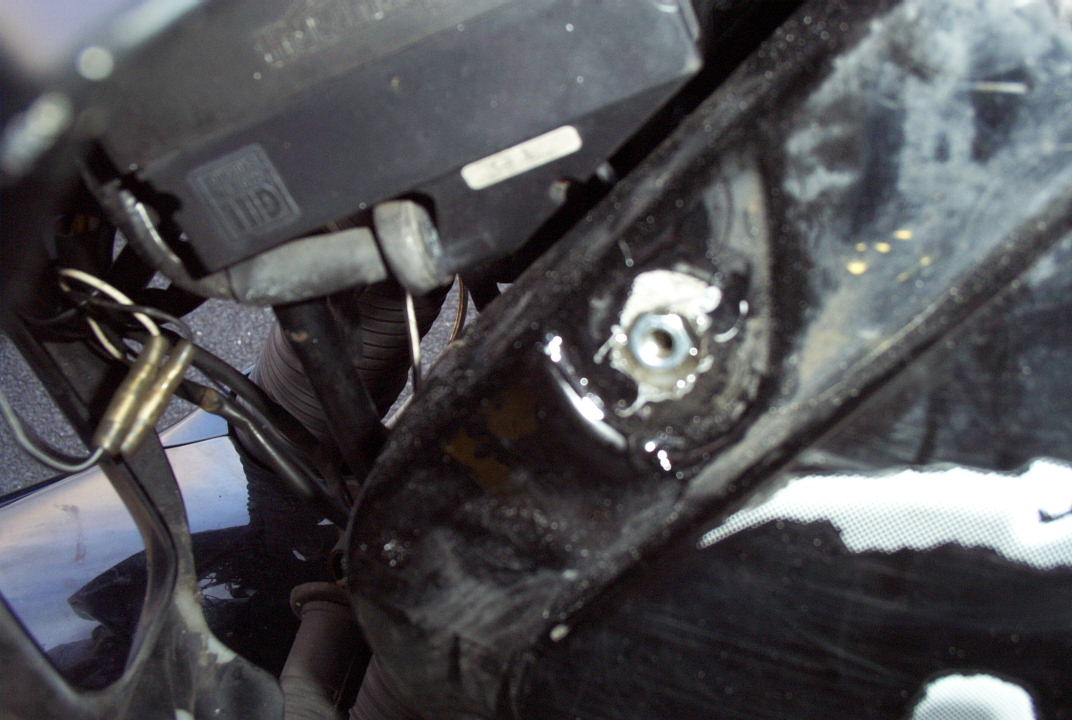
On the right hand side of the fairing bracket is a big rubber protector for the wiring connectors, and just near that, in an angle of the fairing bracket, is a small gusset with a hole in it. This makes a perfect mounting spot for the relay, using an M5 bolt and nut. The right-hand horn terminals are then used to switch the relay. This can then be tested - with the ignition on, pressing the button should make the relay click.
The horns can be mounted with the supplied chrome brackets, but still need the second terminal, as the grounding to the frame isn't reliable enough. I used the brackets the wrong way round, so the horns wedged into the crank in the bracket (you'll see what I mean), because the horn mounting bolts will only fit one end of the bracket.
Install the relay with its contacts down, and the horns with their horns down.
If you delve into the rubber protector on the right side, you'll find lots of multi-way connectors - among them is a bullet connector on a white wire. This is the headlight take-off, and can also be used for the main horn power. My method was to change the single female bullet connector for one which will take three male bullets, thus allowing horn, lights, and something else to be run off this connection.
As I didn't entirely trust earthing through the fairing frame, and there's no earth conveniently placed (unlike that handy live feed), I used spade connectors and ring terminals to earth the horns back to the main frame (on the bolts which hold the fairing frame to the main frame).
A postscript to this - ensure that there's minimal stress on the horns. One of mine has fallen off after fatiguing through the bracket on the fairing frame, so there's a spot of welding needed there.